Planning and creating an event online can seem overwhelming. However, platforms like Eventbee make the entire process straightforward. Eventbee provides a range of tools that help you create, promote, and manage your event seamlessly.
Whether you’re organizing small gatherings, corporate events, or large conferences, Eventbee’s features allow for efficient event management and effective event marketing. This guide will walk you through each step, ensuring a smooth experience for you and your attendees.
Step 1: Register on Eventbee
The first step is creating an Eventbee account. Go to www.eventbee.com and select “Register for Free.” You’ll need to enter your email, name, username, and password to set up your account.
This quick and easy registration process will give you access to Eventbee’s full suite of event management tools.
Step 2: Log In and Create Your Event
Once you’ve registered, log in to your new Eventbee account. Begin by selecting the “New Event” button. This will open a form where you’ll enter essential details for your event. Consider this as the foundation of your event page.
Step 3: Add Event Details
The next step is to provide key details about your event. Adding comprehensive information here helps with both event marketing and attendee engagement. Here’s what to include:
- Event Title: Use a clear, catchy title that summarizes your event.
- Description: Provide an overview of the event. Describe its purpose, key activities, and what attendees will gain. For corporate events, emphasize highlights like guest speakers, workshops, or networking sessions.
- Host Information: State who is hosting the event. This could be an individual or a company name. For corporate events, listing the company’s name can add credibility.
- Registration Type: Indicate whether the event is free or ticketed. Eventbee supports both options, allowing you to set different ticket types if needed.
- Location: Type the event’s location. If it’s virtual, you can include a link or provide details about the online platform you use.
- Date and Time: Specify the event date and starting time. Adding an end time is also helpful, particularly for scheduling corporate events.
These details help attendees understand what to expect and make your event page look professional.
Step 4: Customize Your Event Page
After entering your event details, click “Continue” to start customizing the event page. Personalizing your event page is especially important for corporate events, where branding and presentation are key. Eventbee provides several personalization options that allow you to align your event’s look with your brand.
Design Tab
In the Design tab, you can control how your event page looks. Here are the main features you can use:
- Brand Colors and Fonts: Choose colors and fonts that align with your brand identity. For corporate events, using consistent brand colors can make your event page look cohesive and professional.
- Images and Videos: Upload images or videos to enhance your event page. Visual content helps draw attention and gives potential attendees a sense of what to expect. For corporate events, you could include promotional videos or images from past events.
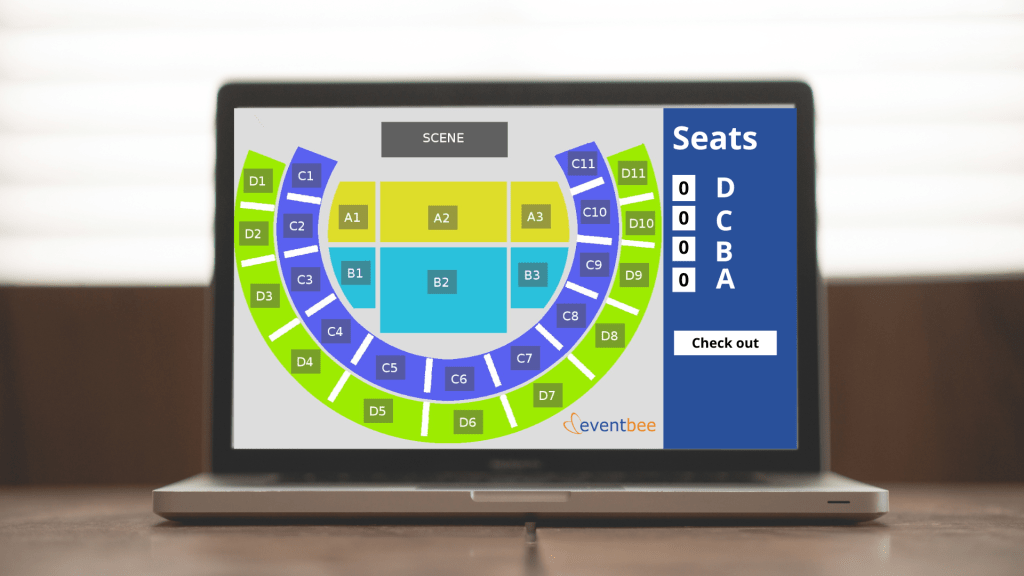
- Seating Map: If your event has assigned seating, you can upload a seating map. This is especially helpful for formal gatherings, conferences, or large corporate events where attendees may need specific seating arrangements.
- Additional Design Tools: Eventbee provides other design tools to enhance your event page visually. Take advantage of these to create a more appealing and user-friendly page.
Step 5: Manage Event Details
Once you set the design, go to the General panel to manage your event’s logistics. Eventbee provides tools that simplify event management. This is extremely helpful for corporate events, where good organization is important.
- Metrics and Reports: Eventbee offers metrics to track your event’s performance. You can view ticket sales, attendee demographics, and registration rates. These insights are valuable for event marketing, allowing you to adjust your promotional strategies if needed.
- Updates and Adjustments: You can edit your event details even after it’s live. This is useful if there are last-minute changes, like a new speaker or an update to the schedule. Keeping your event page up-to-date ensures attendees have accurate information and builds trust.
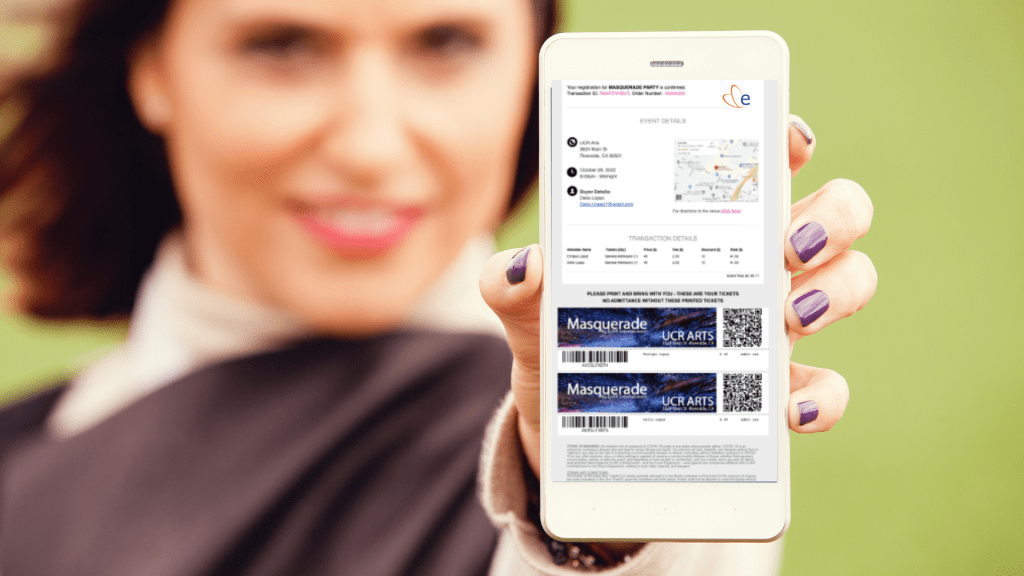
Step 6: Set Up Ticketing and Payment Options
If the event requires ticketing, it will be necessary to configure payment options. Eventbee integrates with popular payment platforms like PayPal and Stripe, allowing for secure transactions. Here are a few ticketing tips:
- Ticket Types: Create different ticket types to suit your audience. For example, you can offer early bird tickets, group discounts, or VIP packages. This is especially helpful for corporate events, where you might have multiple ticket tiers.
- Flexible Pricing: Eventbee allows you to set flexible pricing options. This can help attract different types of attendees and meet revenue goals for corporate events.
Setting up convenient and secure payment options can improve the attendee experience and support your event marketing goals.
Step 7: Promote Your Event
Promotion is a crucial part of event marketing. Eventbee includes tools to help you spread the word about your event. Here are some methods to maximize exposure:
- Social Media Integration: Share your event on social media platforms like Facebook, Twitter, and LinkedIn. For corporate events, LinkedIn is a powerful tool for reaching a professional audience.
- Email Invitations: Eventbee lets you send email invites directly from the platform. Email invitations are especially effective for corporate events, allowing you to reach out to clients, partners, or employees.
- Event Widgets: You can embed Eventbee’s widgets on your website or blog to display event details. This lets visitors find event information and register right away, helping increase registrations and simplify event marketing.
Step 8: Offer Discounts and Promotions
Discounts can encourage more registrations, especially when promoted strategically. Here are some discount strategies to consider:
- Early Bird Discounts: Offering a discount for early registrations can encourage people to sign up sooner. This is useful for event marketing because early registrations create momentum.
- Group Rates: If you are planning a corporate event, offering group rates can help get entire teams to attend.
- Promotional Codes: Create custom promo codes that you can share with targeted audiences. For instance, you could offer a code for social media followers or clients to encourage attendance.
Promotions are a valuable tool in event marketing, allowing you to attract different segments of your audience.
Step 9: Access Customer Support
If you encounter any issues while setting up or promoting your event, Eventbee provides 24-hour customer support. You can reach out by email at support@eventbee.com for assistance. Having reliable support is beneficial, especially for corporate event organizers who may be managing multiple tasks.
Step 10: Track Attendance During the Event
Eventbee’s real-time tracking features allow you to monitor attendance and engagement during the event. This feature is especially useful for corporate events. It helps you confirm which participants are present and track attendance numbers closely. You can also manage last-minute registrations, check-ins, and seating arrangements as needed.
Step 11: Post-Event Analytics and Feedback
Once your event is over, take advantage of Eventbee’s post-event analytics. This includes attendance numbers, revenue data, and engagement metrics. Reviewing these analytics is essential for measuring the success of corporate events and identifying areas for improvement. Eventbee’s data can also provide valuable insights for future event marketing.
Collecting attendee feedback is also useful. Eventbee allows you to create feedback forms, which can help you understand what attendees liked and where there’s room for improvement. For corporate events, this feedback can guide the planning of future events and help you make better decisions.


Leave a comment