Creating an online presence is key to driving ticket sales and ensuring a successful event. For event planners and promoters, having a well-designed event page can make all the difference. In this guide, we’ll show you how to maximize your Eventbee event page.
Use Eventbee’s features to make your event page visually appealing and informative. This will help attract attendees and increase engagement. Let’s dive into how you can optimize your event page to increase visibility and appeal.
Step 1: Log In to Eventbee
To start, visit the Eventbee website and log in to your account. Once logged in, go to your event page. Under the “manage” tab, click on the “design” section, then select “event page” to begin customizing.
Step 2: Customize the Event Page
Customizing your event page is simple, and Eventbee provides tools to help you stand out. Here’s how to make the most of these features:
- Set the Event Title: Make sure your title is clear and aligned as you want it.
- Add Widgets: Click the “+” icon to add widgets. Choose those that fit the needs of your event, like a countdown or photo gallery.
- Description Settings: Go to the description tab and click on the settings wheel. Add a description, choose the font, size, and color, and align it as needed. You can also add images and links to make your page more engaging.
- Social Media Integration: On the right side of the page, use the “social media share” tab. This will let you add icons for the social platforms you want to promote.
- Facebook Comments: Enable Facebook comments to engage potential attendees. Adjust settings like the post count, color scheme, and comment title to match your page’s look.
- Location Details: Under the “where” tab on the right, add location details. You can even embed a map to make it easy for attendees to find your event.
- Event Host Information: In the “event administrator” section, please add the host’s name and contact details. Include any other important information as well.
- Layout Customization: Organize content by dragging and arranging the gray tabs. Place sections in the order that makes the most sense for your event.
- Save Changes: Remember to click “save” after each change to avoid losing any updates.
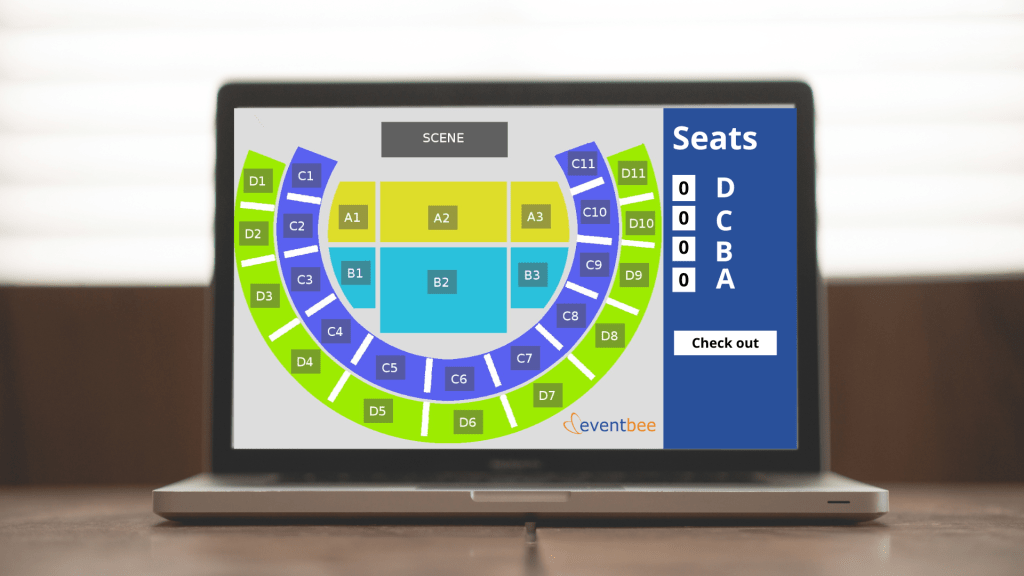
Step 3: Customize the Attendee Page
With your main event page set, it’s time to move on to the attendee page. This is the page where attendees interact most, so it should be informative and visually appealing.
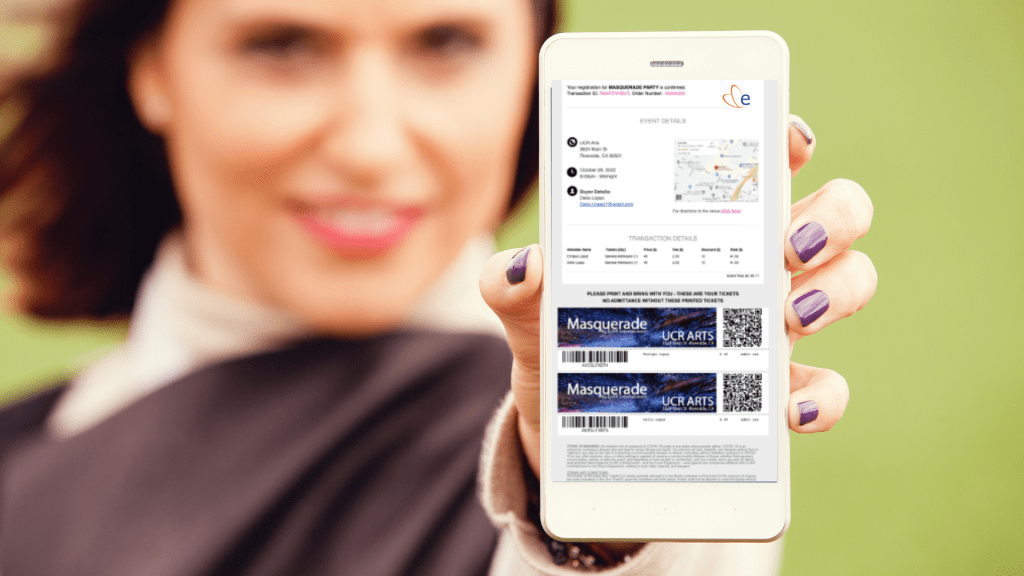
- Tickets Tab: In the attendee page tab, click the settings wheel on the tickets tab to customize ticket information. Add descriptions, labels, and titles to help attendees easily understand what’s available.
- Add More Widgets: If needed, add more widgets by clicking the “+” sign at the bottom. Options like reviews, schedules, or maps can add useful context for attendees.
- Ensure Consistency: Check that the information in the attendee page tabs matches what is on the main event page. Consistency is key for a professional look.
- Save Changes: Click “save” to confirm all updates.
Step 4: Style Page
Styling your page gives it a unique look that aligns with your event theme. Here’s how to add visual appeal to your Eventbee page:
- Background Customization: Under the “page style” tab, adjust the background color and image. Choose a background color or image that matches your branding or the event theme. You can adjust the image position as well to create a balanced look.
- Main Content Styling: Change the background color and opacity in the main content area. This will help your event details stand out.
- Widget Styling: Style the widgets to make them stand out. Adjust colors, font size, and border options. You can also set the border rounding to create softer edges on widget containers, making your page look modern.
- Save Your Changes: After you finish all adjustments, remember to save.
Step 5: Optimize for Mobile
Many people will view your event page on their mobile devices. Check that your page looks good on smaller screens. Eventbee’s responsive design will adjust automatically, but you can preview it to make sure everything is in place.
Step 6: Test Your Page Before Launch
Once you’re happy with the design, take time to test the page. Click through all tabs, links, and buttons to ensure they work as expected. This step helps prevent last-minute issues and keeps things running smoothly for attendees.
Final Touches: Review and Publish
Take a final look at your page to see if anything else needs tweaking. Check for spelling or grammar errors and make sure all information is accurate. When you’re confident it’s ready, publish the page and share the link.
In conclusion, following these steps will help you make an appealing Eventbee page. This will grab attention and boost ticket sales. Remember to use visuals, maintain a clear layout, and keep your page consistent and user-friendly.

Leave a comment