

Putting together a great event takes some work, and handling tickets is an important part of it. With Eventbee, you can easily design and manage your tickets using a straightforward platform. This guide will show you how to create, customize, and sell tickets step by step.
Getting Started
The first thing you need to do is log into your Eventbee account. Visit the www.eventbee.com and log in using your credentials. If you don’t have an account, you can create one quickly by clicking the “Sign Up” button and following the prompts.
Once logged in, select the event you want to manage from the dashboard. If you haven’t created your event yet, you’ll need to do so by clicking the “Create Event” button. Fill in the details, such as your event name, date, location, and description.
Once your event is ready, the system takes you to the event management page. This is where you’ll find all the tools you need to manage your tickets, track sales, and customize your event experience.
Navigating to the Ticketing Section
To start creating tickets, you’ll need to access the ticketing section of your event. Follow these steps to locate it:
- Open the Manage Tab:
Once you’ve selected your event, go to the “Manage” tab on the left-hand side of the screen. This tab gives you access to all the settings for your event.
2. Click on the Ticketing Option:
Under the “Manage” tab, look for the “Ticketing” section. When you click on it, several options will appear, including “Tickets,” “Donation,” and “Group.” Each of these options corresponds to different types of tickets you can create.
Creating Standard Tickets
Standard tickets are the most common type of event tickets. These are ideal for general admission or tiered access levels, such as early bird or VIP tickets. Here’s how to create standard tickets:
- Click the “+Ticket” Button: Once you’re in the ticketing section, click on the “+Ticket” button. This will open a ticket creation form.
- Customize the Ticket Details: Fill out the ticket name (e.g., “General Admission”), price, and quantity. Set limits on how many tickets each person can buy per transaction.
- Set the Sales Period: Specify when ticket sales will begin and end. You can also schedule tickets to go live automatically at a specific date and time.
- Add a Ticket Description: Include details about what the ticket includes. For example, if it’s a VIP ticket, mention any perks like early access, reserved seating, or free drinks.
- Enable Optional Features: Eventbee allows you to add advanced options, such as:
- A waiting list for sold-out tickets.
- The ability to repeat an attendee’s name for bulk registrations.
Click “Save” to finalize your ticket setup.
Creating Donation Tickets
If your event is fundraising-focused or includes a donation component, donation tickets are a great choice. They allow attendees to contribute an amount of their choice. Follow these steps to create donation tickets:
- Click the “+Donation” Button: Navigate to the ticketing section and select the “+Donation” button.
- Enter the Donation Details: Add the name and description for the donation ticket. For instance, name it “Support the Cause” and explain how you’ll use the donations.
- Set the Donation Range: You can add a minimum amount or let attendees choose how much they want to give.
- Schedule the Donation Period: Just like with standard tickets, set the start and end dates for donations.
Once completed, save your donation ticket to make it live.
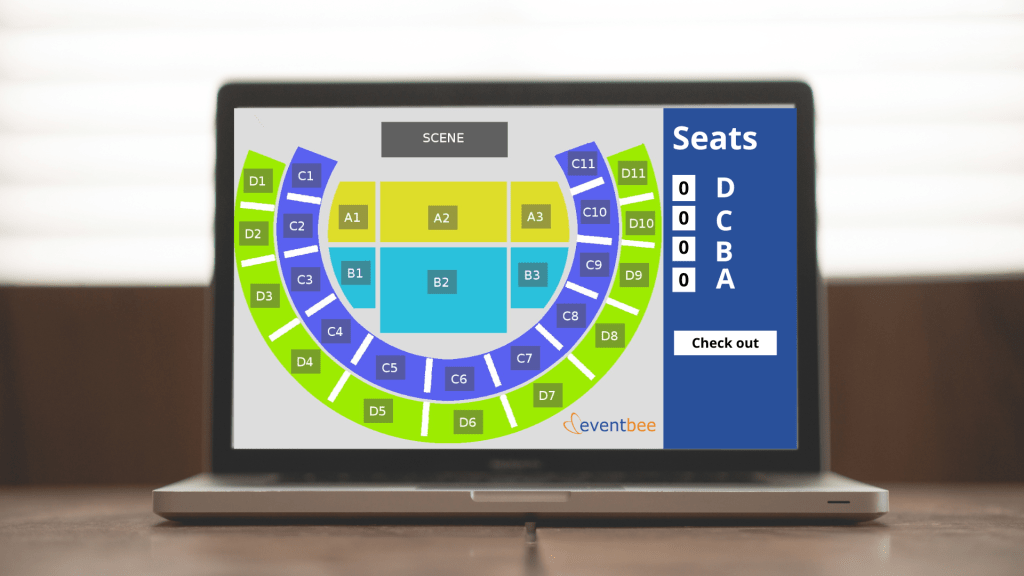
Grouped Tickets for Multiple Options
Grouped tickets are perfect for events with multiple ticket variations, such as different seating categories or bundled packages. Instead of listing each ticket individually, you can organize them into groups.
Here’s how to set up grouped tickets:
- Click the “+Group” Button: In the ticketing section, select the “+Group” button.
- Name the Group: Give your group a clear and descriptive name, such as “Seating Options” or “Event Packages.”
- Add a Description: Write a quick summary of what the group includes. For example, if it’s a seating category, mention the benefits of each section.
- Add Tickets to the Group: After creating the group, click the “Add Ticket” option to create new tickets under this group.
Grouped tickets make it easier for attendees to browse options and select the best fit for them.
Tracking Ticket Performance
Once your tickets are live, Eventbee provides tools to help you track and manage ticket sales. Find these tools in the “Reports” section of your event dashboard.
- View Sales Reports: Use the dashboard to see your ticket sales, which ones are selling the most, and how much money you’ve earned.
- Use Tracking Links: Eventbee allows you to create custom tracking links for different promotional campaigns. Share these links with your promoters or use them in emails to see which ones are working best.
- Monitor Attendee Data: Download attendee lists to manage check-ins or send personalized updates.
Why Choose Eventbee for Ticketing?
Eventbee offers several advantages that make it a top choice for event organizers:
- Ease of Use: The platform is super easy to use, so even if you’re new, you can quickly create and manage your tickets.
- Low cost: Eventbee charges a low flat fee per ticket, making it more budget-friendly than other ticketing platforms.
- Personalization: From ticket types to branding, Eventbee allows you to tailor your event experience to match your vision.
- 24/7 Support: If you ever encounter issues, Eventbee’s support team is available around the clock to assist you.
Final Steps to Success
After setting up your tickets, take some time to review your event details. Make sure all ticket information, such as prices and descriptions, is accurate. Use Eventbee’s preview feature to see how your event page will appear to attendees.
Promote your event using Eventbee’s marketing tools. Share your event page on social media, send email invitations, and leverage tracking links to optimize your campaigns.
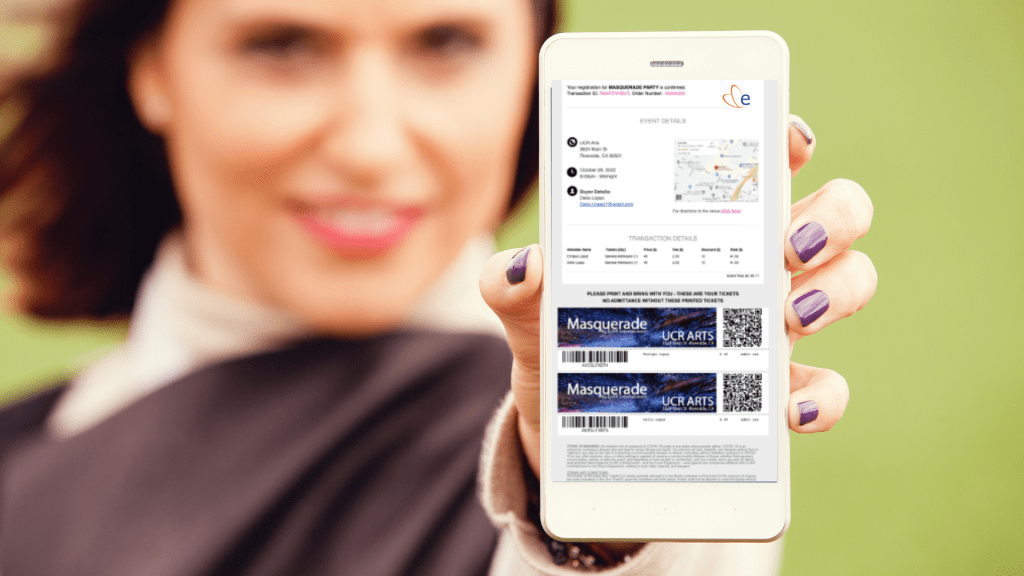
On the day of the event, use Eventbee’s check-in app to scan tickets and ensure a smooth entry process for attendees. This will keep things moving quickly and make everything go more smoothly for everyone.
In conclusion, creating tickets for your event with Eventbee is a simple and efficient process. Whether you need standard tickets, donation-based options, or grouped packages, the platform provides all the tools you need to succeed.
With Eventbee, you can manage your event seamlessly and focus on delivering a memorable experience for your attendees. If you have any questions or need assistance, their 24-hour support team is always ready to help.
Start using Eventbee today and take your event planning to the next level.


Leave a comment